

Required permission:
- View Data Source
- Create Data Source
- Edit Data Source
- Delete Data Source
- View Team
- View User
The Vehicle Table
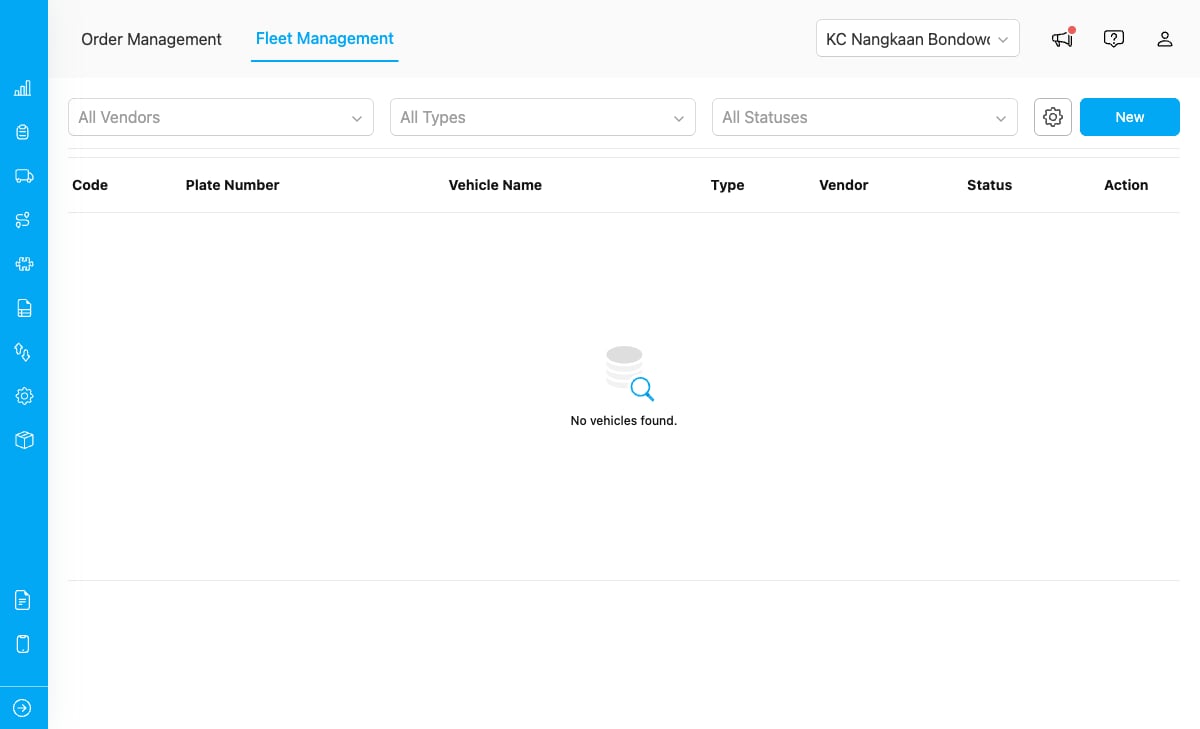
The Fleet Management page showing a list of vendor vehicles with code, plate number, type, vendor, and status columns.
Each row displays:Searching and Filtering
Use the filter bar at the top of the page to narrow down vehicles.
Filters combine. For example, selecting Type “Truck” and Status “Active” shows only active trucks.
Adding a Vehicle
- Click the + New button on the Fleet Management page.
- Fill in the vehicle details in the form.
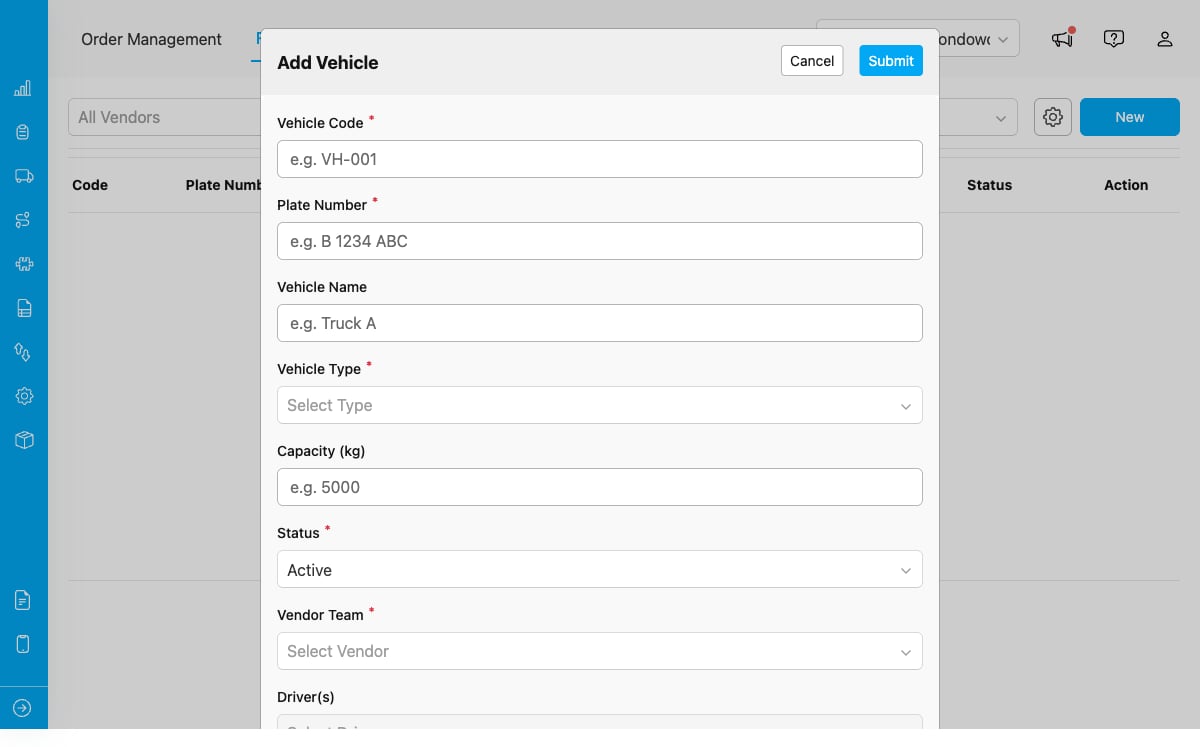
The vehicle form with fields for code, plate number, type, capacity, driver assignment, vendor team, and status.
- Click Save to add the vehicle to the fleet.
Editing a Vehicle
- Click the pencil icon on a row to open the edit form.
- Update the vehicle details.
- Click Save to apply changes.
Deleting a Vehicle
- Click the trash icon on a row.
- Confirm the deletion in the popup dialog.
You cannot delete a vehicle that is currently assigned to an active order. Complete or cancel the associated orders first.
Vehicle Status
Only vehicles with Active status appear in the vehicle selection dropdown when a vendor accepts an order. Keep your fleet status updated to ensure smooth operations.
Admin vs Vendor Access
Administrators can see and manage vehicles across all vendor teams. Vendors can only manage vehicles belonging to their own team.