Required permission:
- View task
- Create task
How to Create Tasks via Data Import
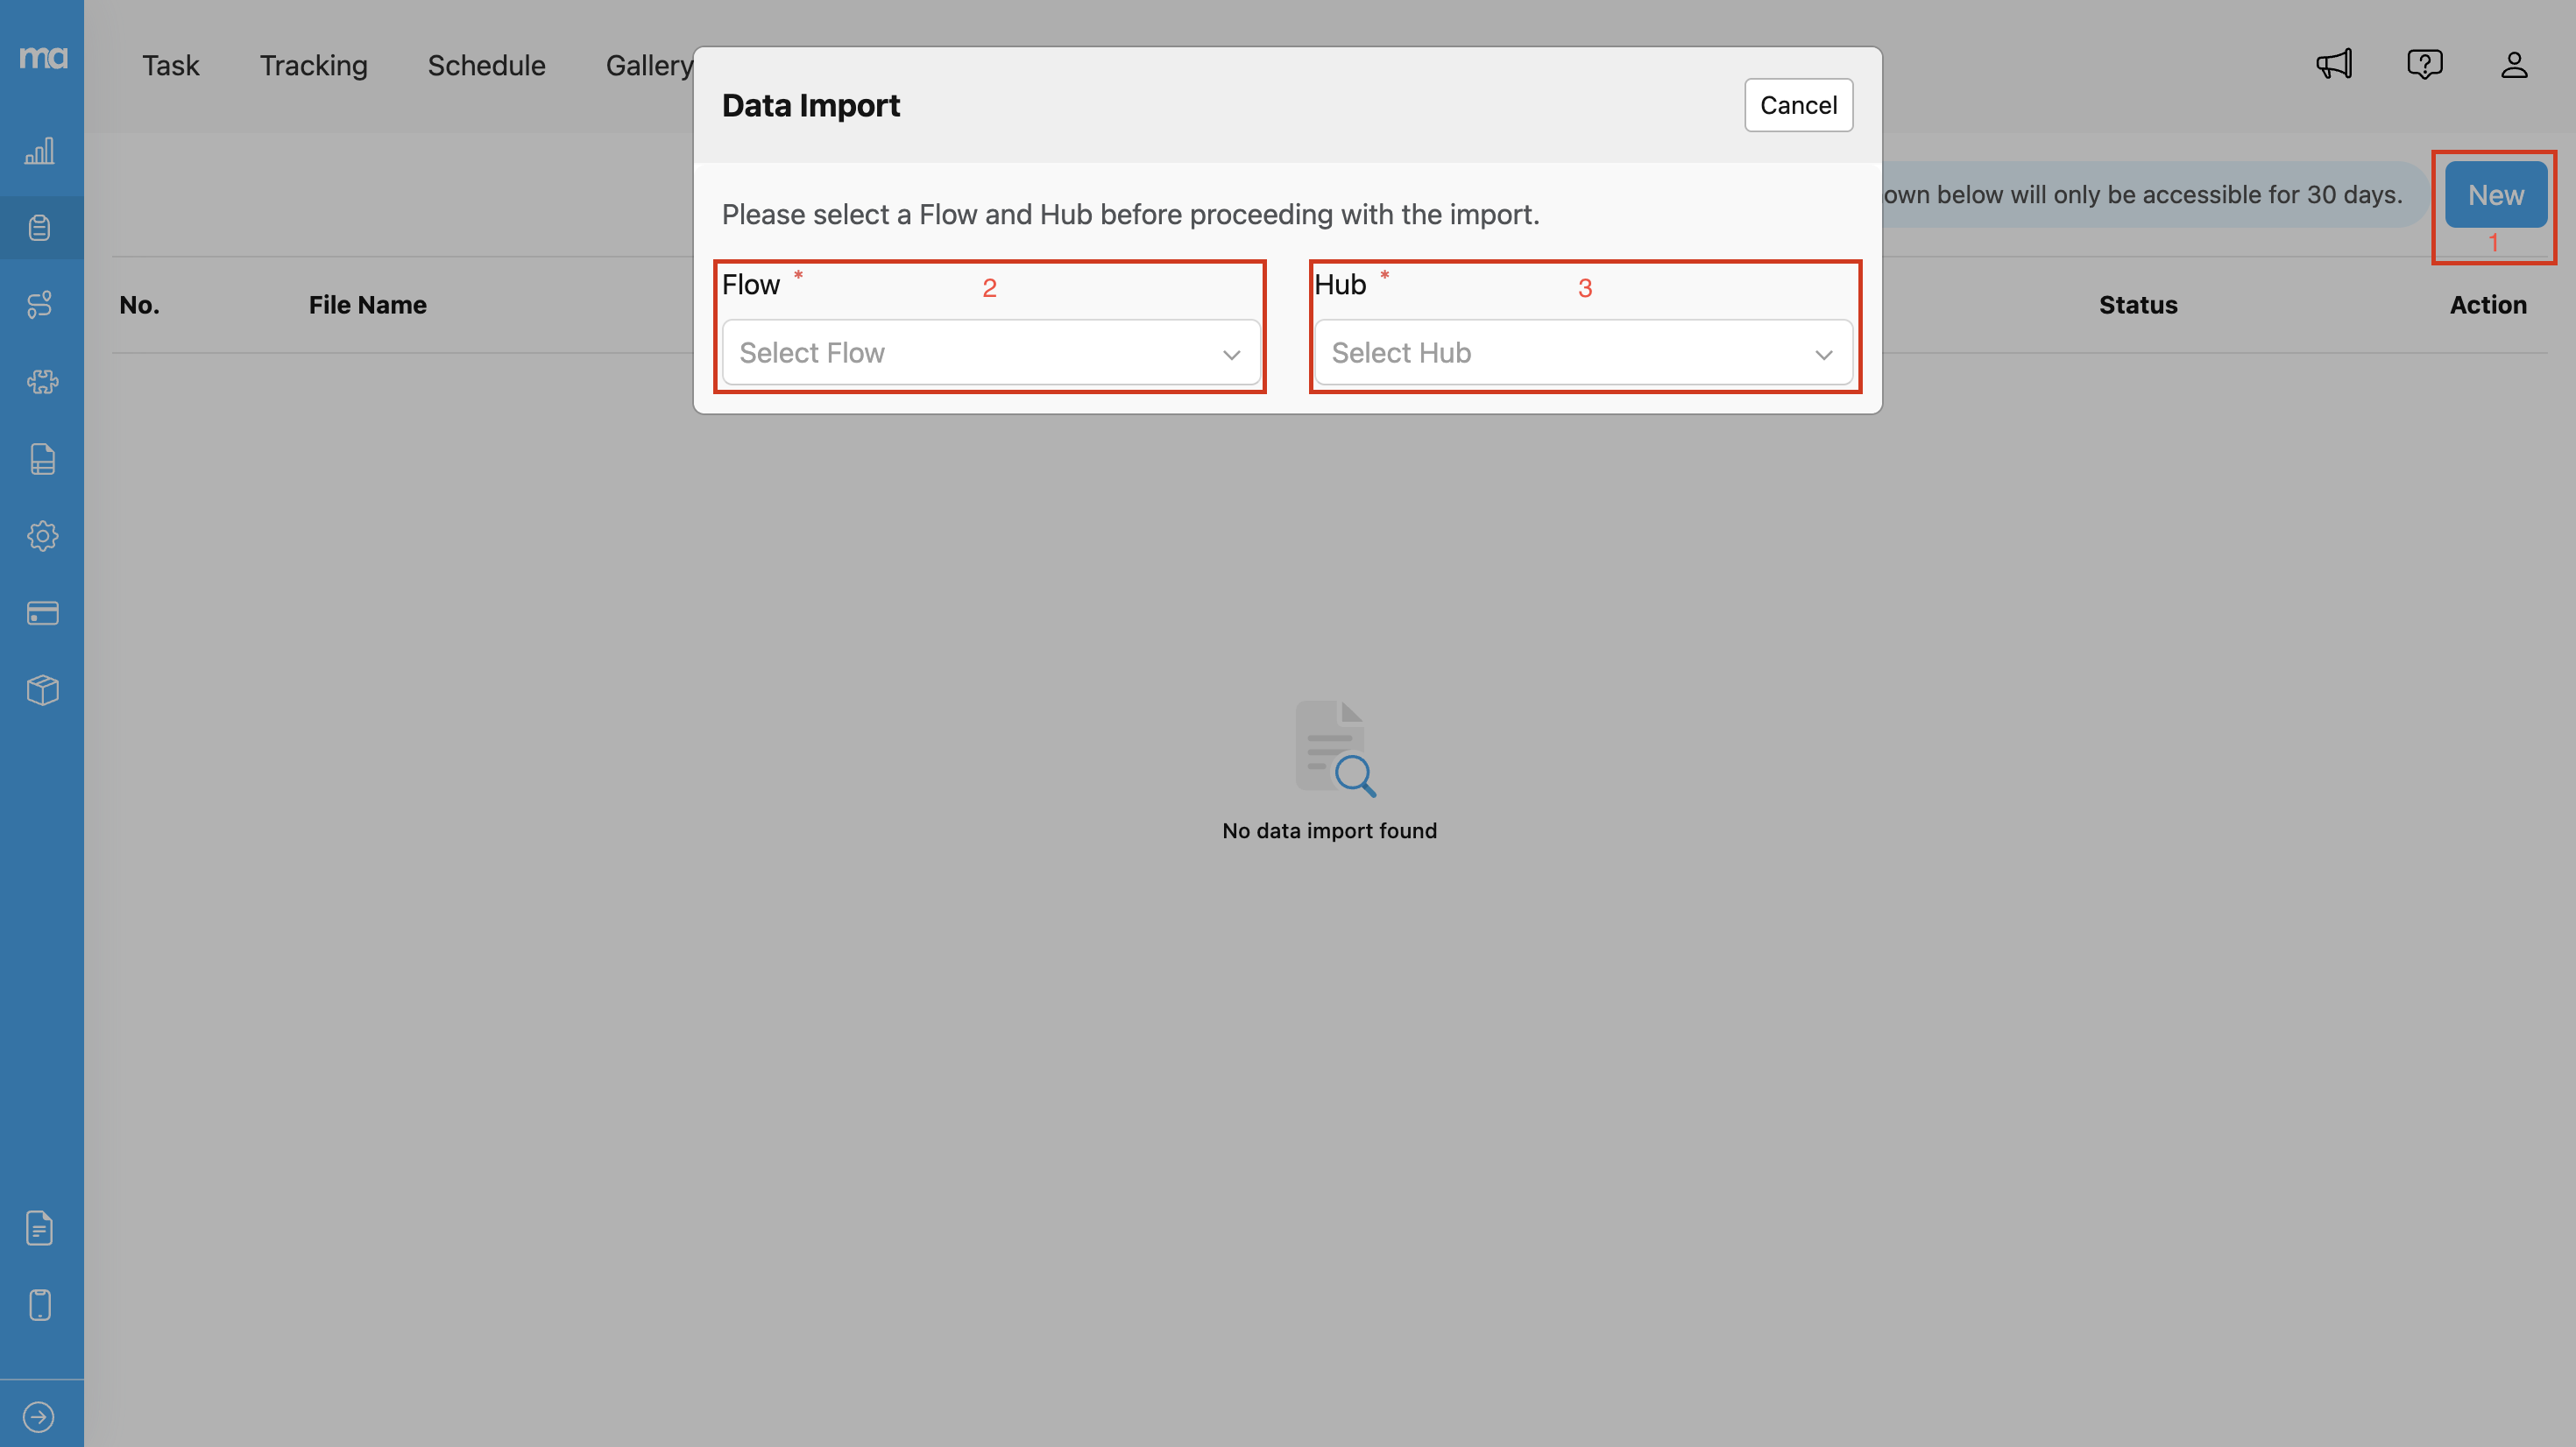
- Click the New button.
- Select the Flow you want to use for task creation.
- Select the Hub where the tasks will be assigned.
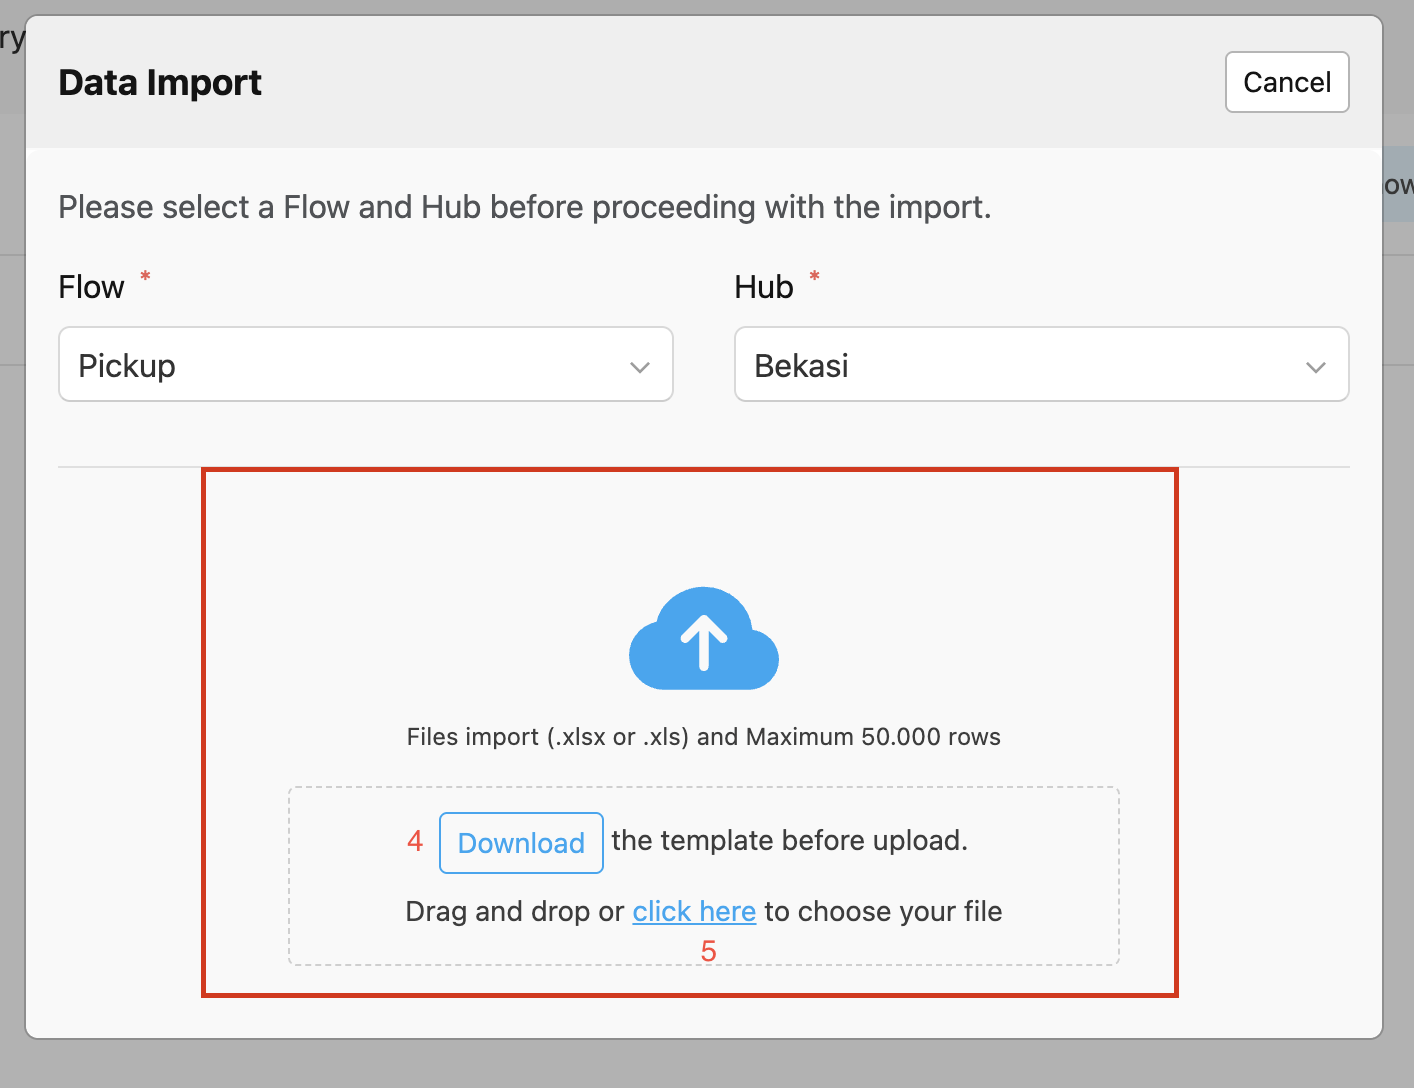
- Download the Flow Template (if you don’t have one already). If you already have the template, you can skip this step.
- Upload your file by either dragging and dropping it into the upload area, or by clicking “Click here” to browse for the file.
- Confirm the import by clicking “Yes” once your data is verified.
- The task creation process will begin, and you will see the result shortly.
- Success: All task data in the file was successfully created.
- Failed: All task data in the file failed to be created.
- Partially Success: Some tasks were successfully created, while others failed.
Note: Import history is only available for the last 30 days. After 30 days, the import status and logs will no longer be accessible.