Required permission:
- Export Task
- View custom export template
- Create custom export template
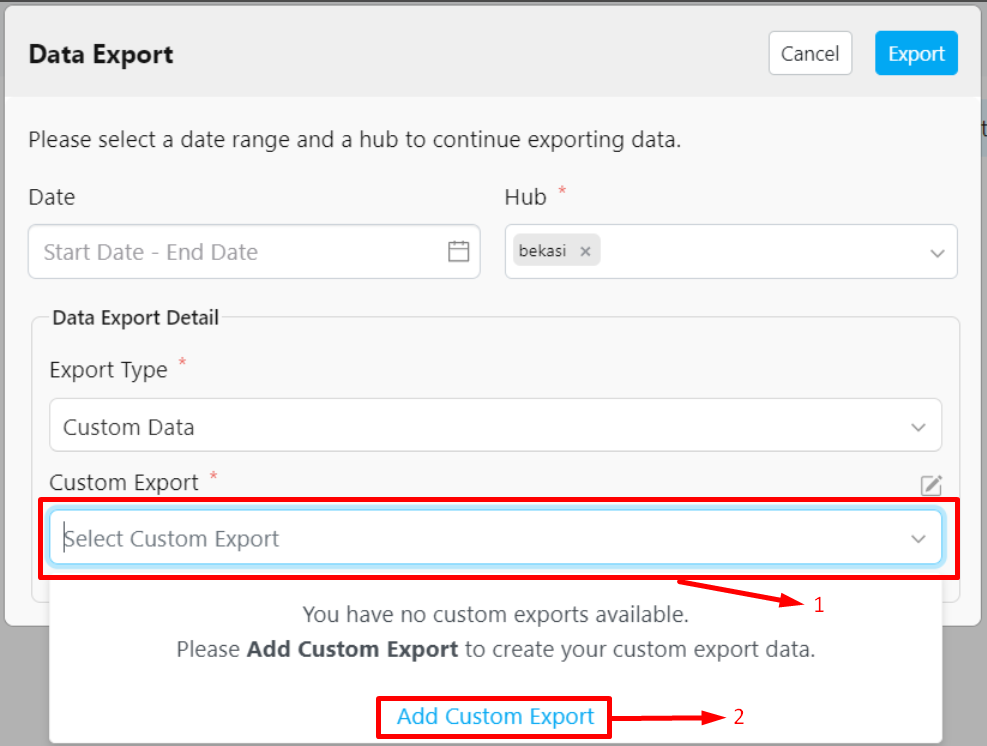
- Click the dropdown on the “Custom Export” field, or alternatively, click the pencil icon (Custom Export Manager).
- Select “Add Custom Export”.
- Enter a name for your Custom Export.
- Search for the desired source by typing the name of the source in the search bar.
- Select the sources you want to include in the exported file. In addition to regular flows, Trip Activity is available as a source. When selected, Trip Activity fields (Username, Start Trip, Start Trip Coordinate, End Trip, End Trip Coordinate, Total Distance (km), Total Duration (minutes)) become available in the Fields section.
- The Fields section displays the fields that will appear in the exported file.
- Click Save to store your Custom Export configuration.
- To remove fields from the exported file, click the ‘x’ icon next to the field, or click the “Remove All” button to delete all selected fields at once.
- You can also modify an existing Custom Export. Learn more about how to edit your Custom Export.