How to Create a Geotag
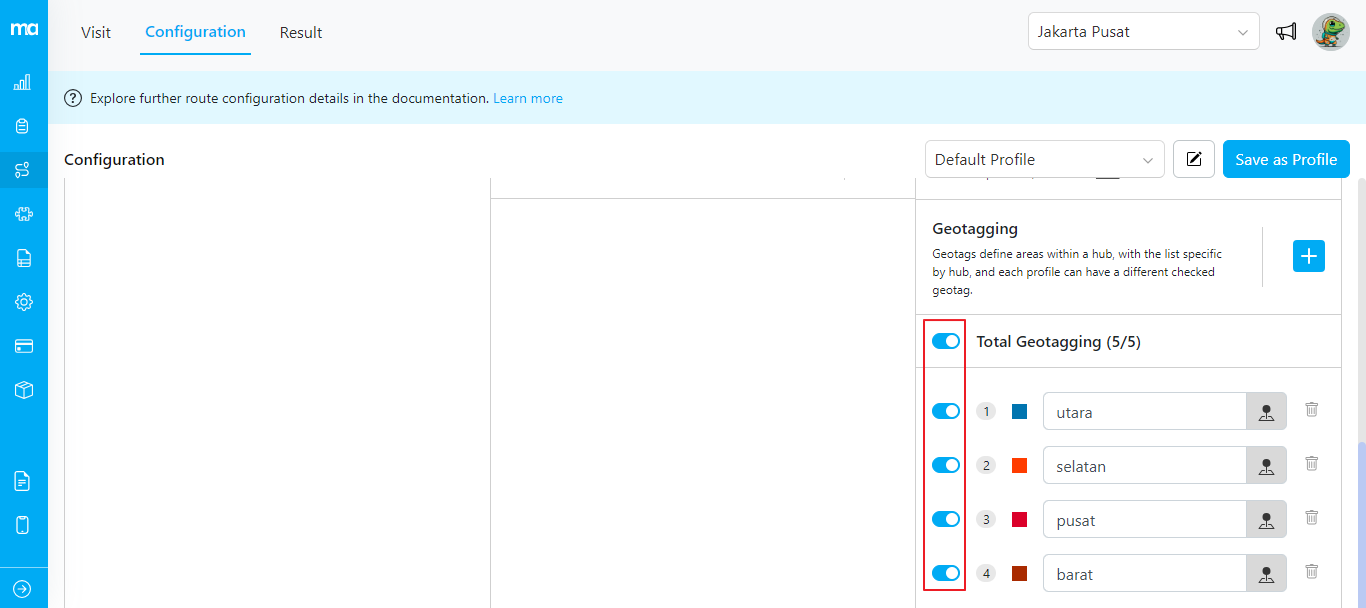
- Navigate to the Routing/Configuration menu and scroll down to the Geotagging section.
- Click on the + icon to start creating a new tag.
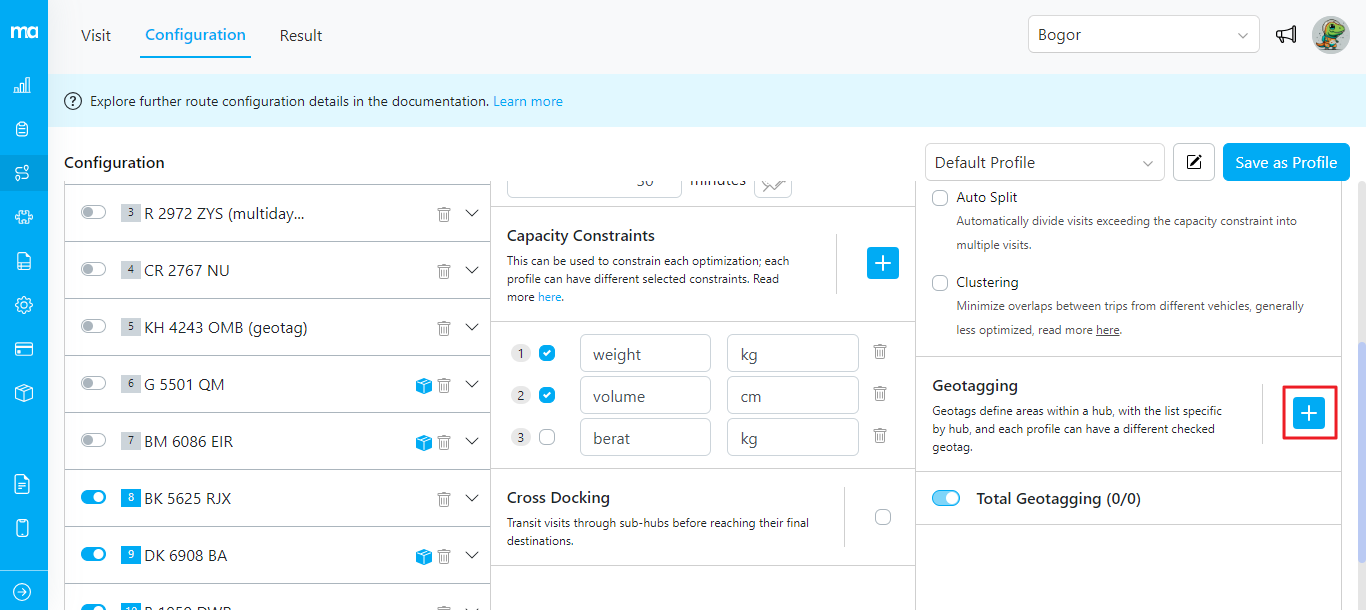
- Enter the tag name, for example, “Selatan”. This name usually corresponds to a specific area. Note: The geotag name must be unique and cannot be duplicated.
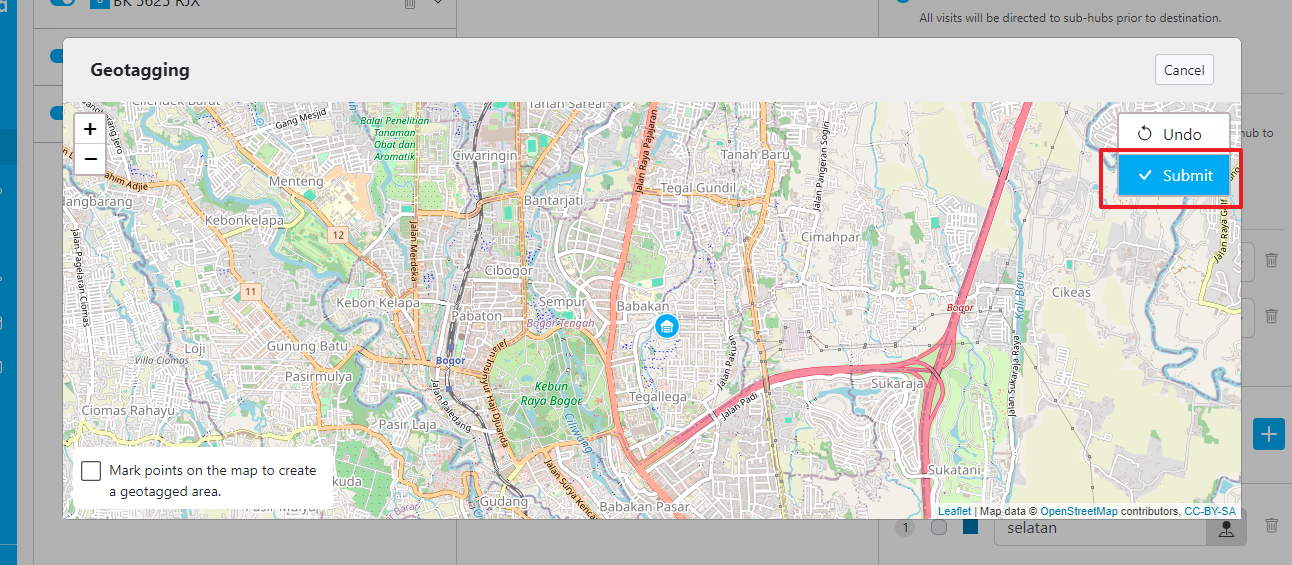
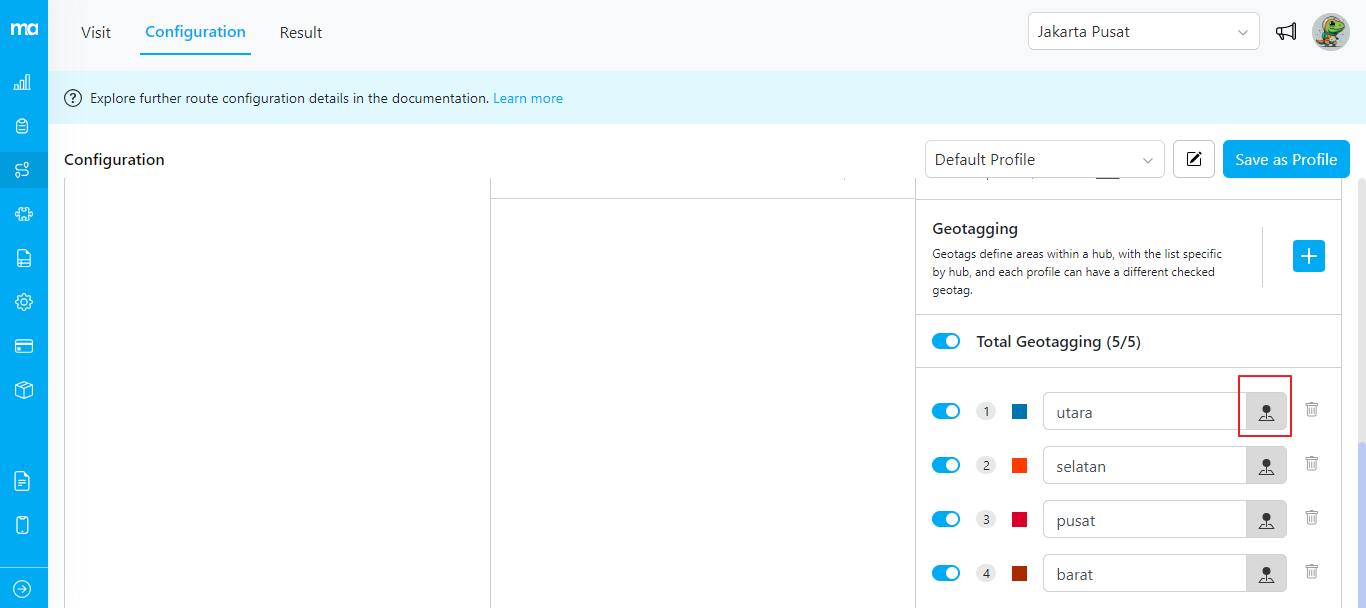
- Click on the map icon to start creating a polygon by dropping points on the map to outline the area.
- Click Submit when you have finished defining the area.
- The list of geotags is specific to each hub. Whenever you change the filter hub in the top right corner, the geotag list will update accordingly.
- If a visit already has a manually input tag, the geotag will be added to the existing visit tag.
- When polygons overlap, a visit within the overlapping area will be tagged with all relevant geotags.
Example
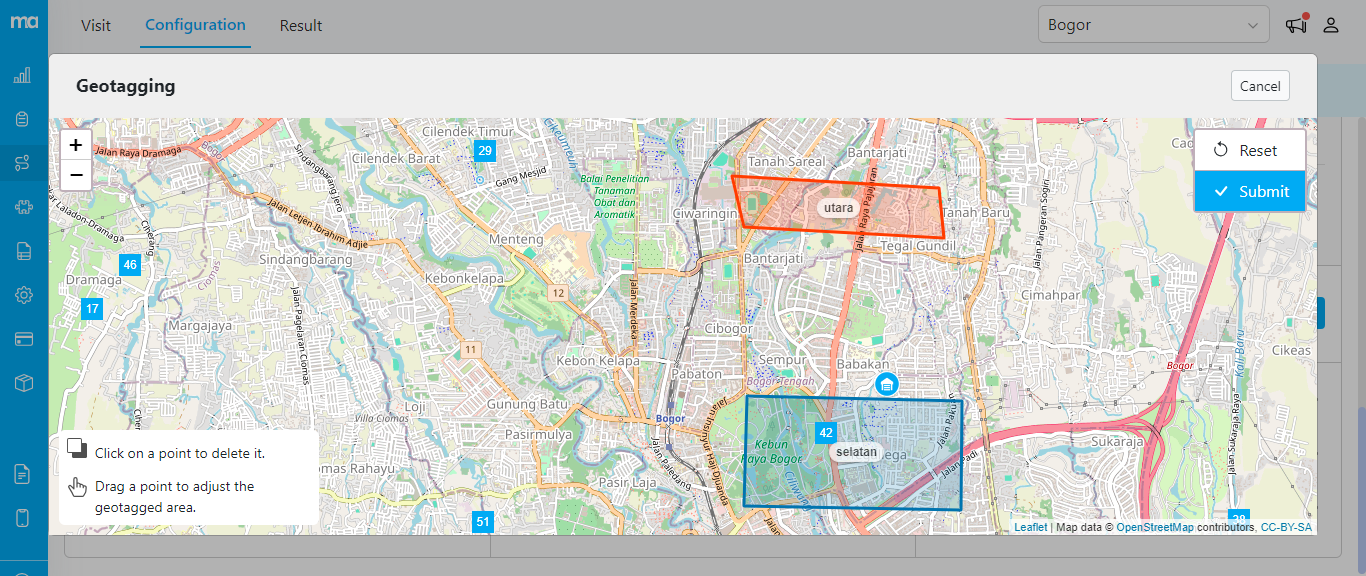
Once geotagging is set up, any visit within the defined area will automatically receive the corresponding tag. For instance, if you create a geotag named “Selatan” for the area below: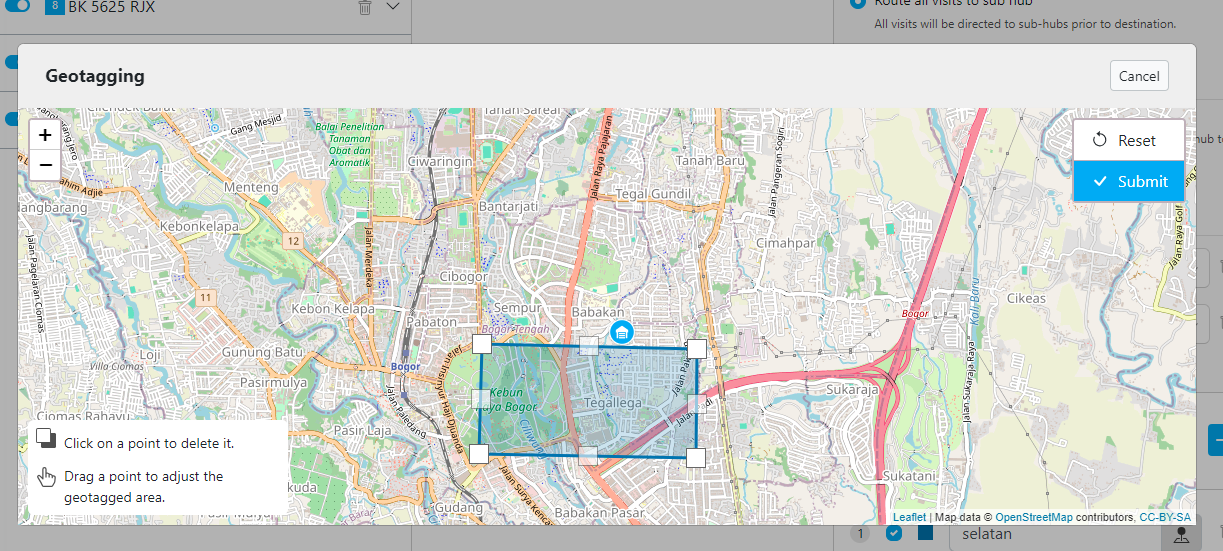

How to Edit Geotag
If you need to modify the area of a saved geotag, follow these steps:- Click on the map icon associated with the specific geotag you wish to edit.
- A map will appear, displaying the current geotagged area. You can adjust this area in two ways:
- Delete a Point: Click on a point to remove it from the geotagged area.
- Adjust a Point: Drag a point to a new location to reshape the geotagged area.